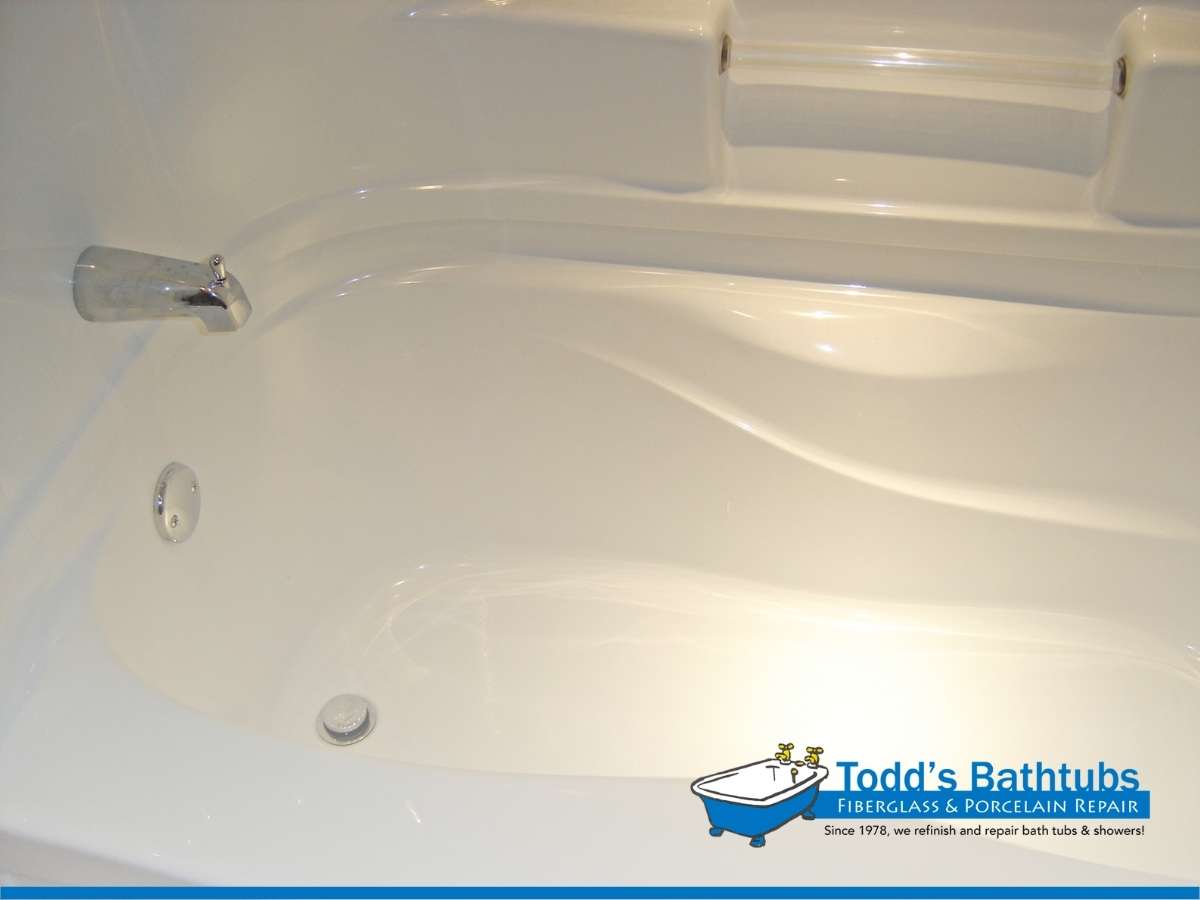
How To Repair a Fiberglass Tub Or Shower
So, you have a fiberglass tub that’s starting to show a bit of wear and tear. Maybe it’s taking on water or has a few scratches and chips here and there. Don’t worry — you don’t have to live with this damage, nor do you need to spend hundreds on a new tub.
The guide below will show you how to repair a fiberglass tub in your home with materials you can find at your local hardware store or home improvement center.
Before calling a fiberglass bathtub repair service in Mesa, check the guide below so you can try some things first to save time, money, and effort.

Before Getting Started
Rather than using automotive body filler, buy a factory-matched repair kit to use on your tub or shower.
You will find most of the required supplies to complete the repairs in these kits. Plus, you will find a few extra tools and materials too. The filler paste in these kits has already been colored to match the color of your fixture.
One kit might contain enough supplies to do numerous repairs. Even while it won’t always be a perfect match, the color will be near to that of your shower or tub.
Make a thoughtful decision because there are various repair and resurfacing options available. Most people discover that a paste-type fiberglass/acrylic kit is simpler to use than a spray solution for straightforward aesthetic restorations. Paste kits frequently contain:
- Catalyst and base coat paste
- Toners for lightening and darkening
- Buffing bar or rubbing compound
- Dry and wet sandpapers
- Clear top coat to spray at the end.
Safety Tips
This repair employs an epoxy-type filler that emits dangerous fumes. If you don’t feel safe with that, contact a fiberglass bathtub & shower repair service in Mesa.
You must use an authorized ventilator mask when doing this repair. Always abide by the safety precautions advised by the kit’s maker.
What Do I Need For The Repair?
Materials
- Repair kit made of acrylic or fiberglass
- Acetone or nail polish remover
Tools
- A pair of utility knives
- Power drill with a car buffer, grinding disks, or a compact drum sander
- Dry and wet sandpapers (220-, 320-, 400-, and 600-grit)
- Cleaning pads
- Paper towels or clean rags
- A heat gun
- Polishing cloth
- Gloves for protection
- A ventilator mask
Higher grit sandpaper, such as 600 grit, is frequently available at automotive supply stores, and home centers. To give the shower a shiny surface, use extremely fine grit paper or scouring pads coupled to a sander.
How Is The Process?
Follow these steps to repair your fiberglass tub successfully:
Open The Crack
Cut a V-shape around the margins of the damaged area with a sharp utility knife. Make sure you cut through the acrylic or fiberglass color layer to reach the structure below. It often involves a reduction of 1/16- to 1/4 inch.
This first step is crucial to guarantee a proper result. If you didn’t find the materials, you should contact a professional fiberglass bathtub repair service in Mesa to avoid problems.
The preparation will be easier if a sanding drum or grinding disk is attached to a drill or Dremel tool and the surface is particularly hard.
Open The Crack
After using cloths or paper towels to clean the surfaces, lightly sand the whole repair area with 220-grit sandpaper.
The paste will stick to the injured area better thanks to this light roughening. If you use sandpaper rougher than 220-grit, it will be challenging to smooth it out again later.
Clean Space
Use nail polish remover or acetone to clean the area.
From this point on, be sure to wear a ventilator mask!
Combine Ingredients
Put a little of the paste filler given in the package into one of the mixing cups. If necessary, alter the color to match the tub or shower by using lightening or darkening toners.
Mix the catalytic agent into the paste. To create the activated filler paste, properly combine the materials.
Apply Paste To The Affected Area
Using the mixing stick included in the kit, apply the activated paste mixture to the area that needs repair. This is the same process fiberglass bathtub repair company in Mesa do when treating a fiberglass tub.
The repair area should be somewhat overfilled; you will sand flush it later.
Allow The Paste to Dry
Allow the paste to set for an hour. You can speed up the drying process with a heat gun, but it’s better to let it cure and solidify naturally.
Blend Repair The Affected Area
To make the repair area mix in with the surrounding surface, use wet/dry sandpaper. The best results come from sanding in phases with progressively finer wet/dry sandpaper grits. Sand with 220-grit paper first, then 320-, 400-, and 600-grit. Drop water onto the sanding area with a damp towel to lubricate it.
Polish Repair The Entire Area
Remove the sanding dust, then polish and integrate the repair area with the surrounding material using the rubbing compound supplied in the box.
The best results will come from buffing at high speed!
Apply a Clear Coat
Finally, if your kit includes a clear top-coat layer, apply it now.
Contact A Trusted Fiberglass Repair Company In Mesa
Call Todd’s Bathtubs for better results when filling your tub/shower surface. You can also call us if you see any major fractures or holes that stretch several inches or more.
MESA
1829 S Horne #14, Mesa, AZ 85204
Office: 480-835-7070
Email: info@toddsbathtubs.com

